by admin on April 21, 2026
Welcome to your ultimate guide on creating the adorable We Bare Bears crochet project. Find the completely free pattern below along with expert tips material guides and technique breakdowns to set you up for absolute success. Ready to start your crafting journey? Grab the full printable PDF pattern from Knotsboo.com and let your creativity bloom.
Table of Contents
1. The Inspiration & Why You Will Love Making This
Creating handmade pop culture characters brings unparalleled joy and a touch of nostalgia to your desk space. This guide walks you through the preparation and mindset needed to crochet an incredibly adorable minimalist bear.
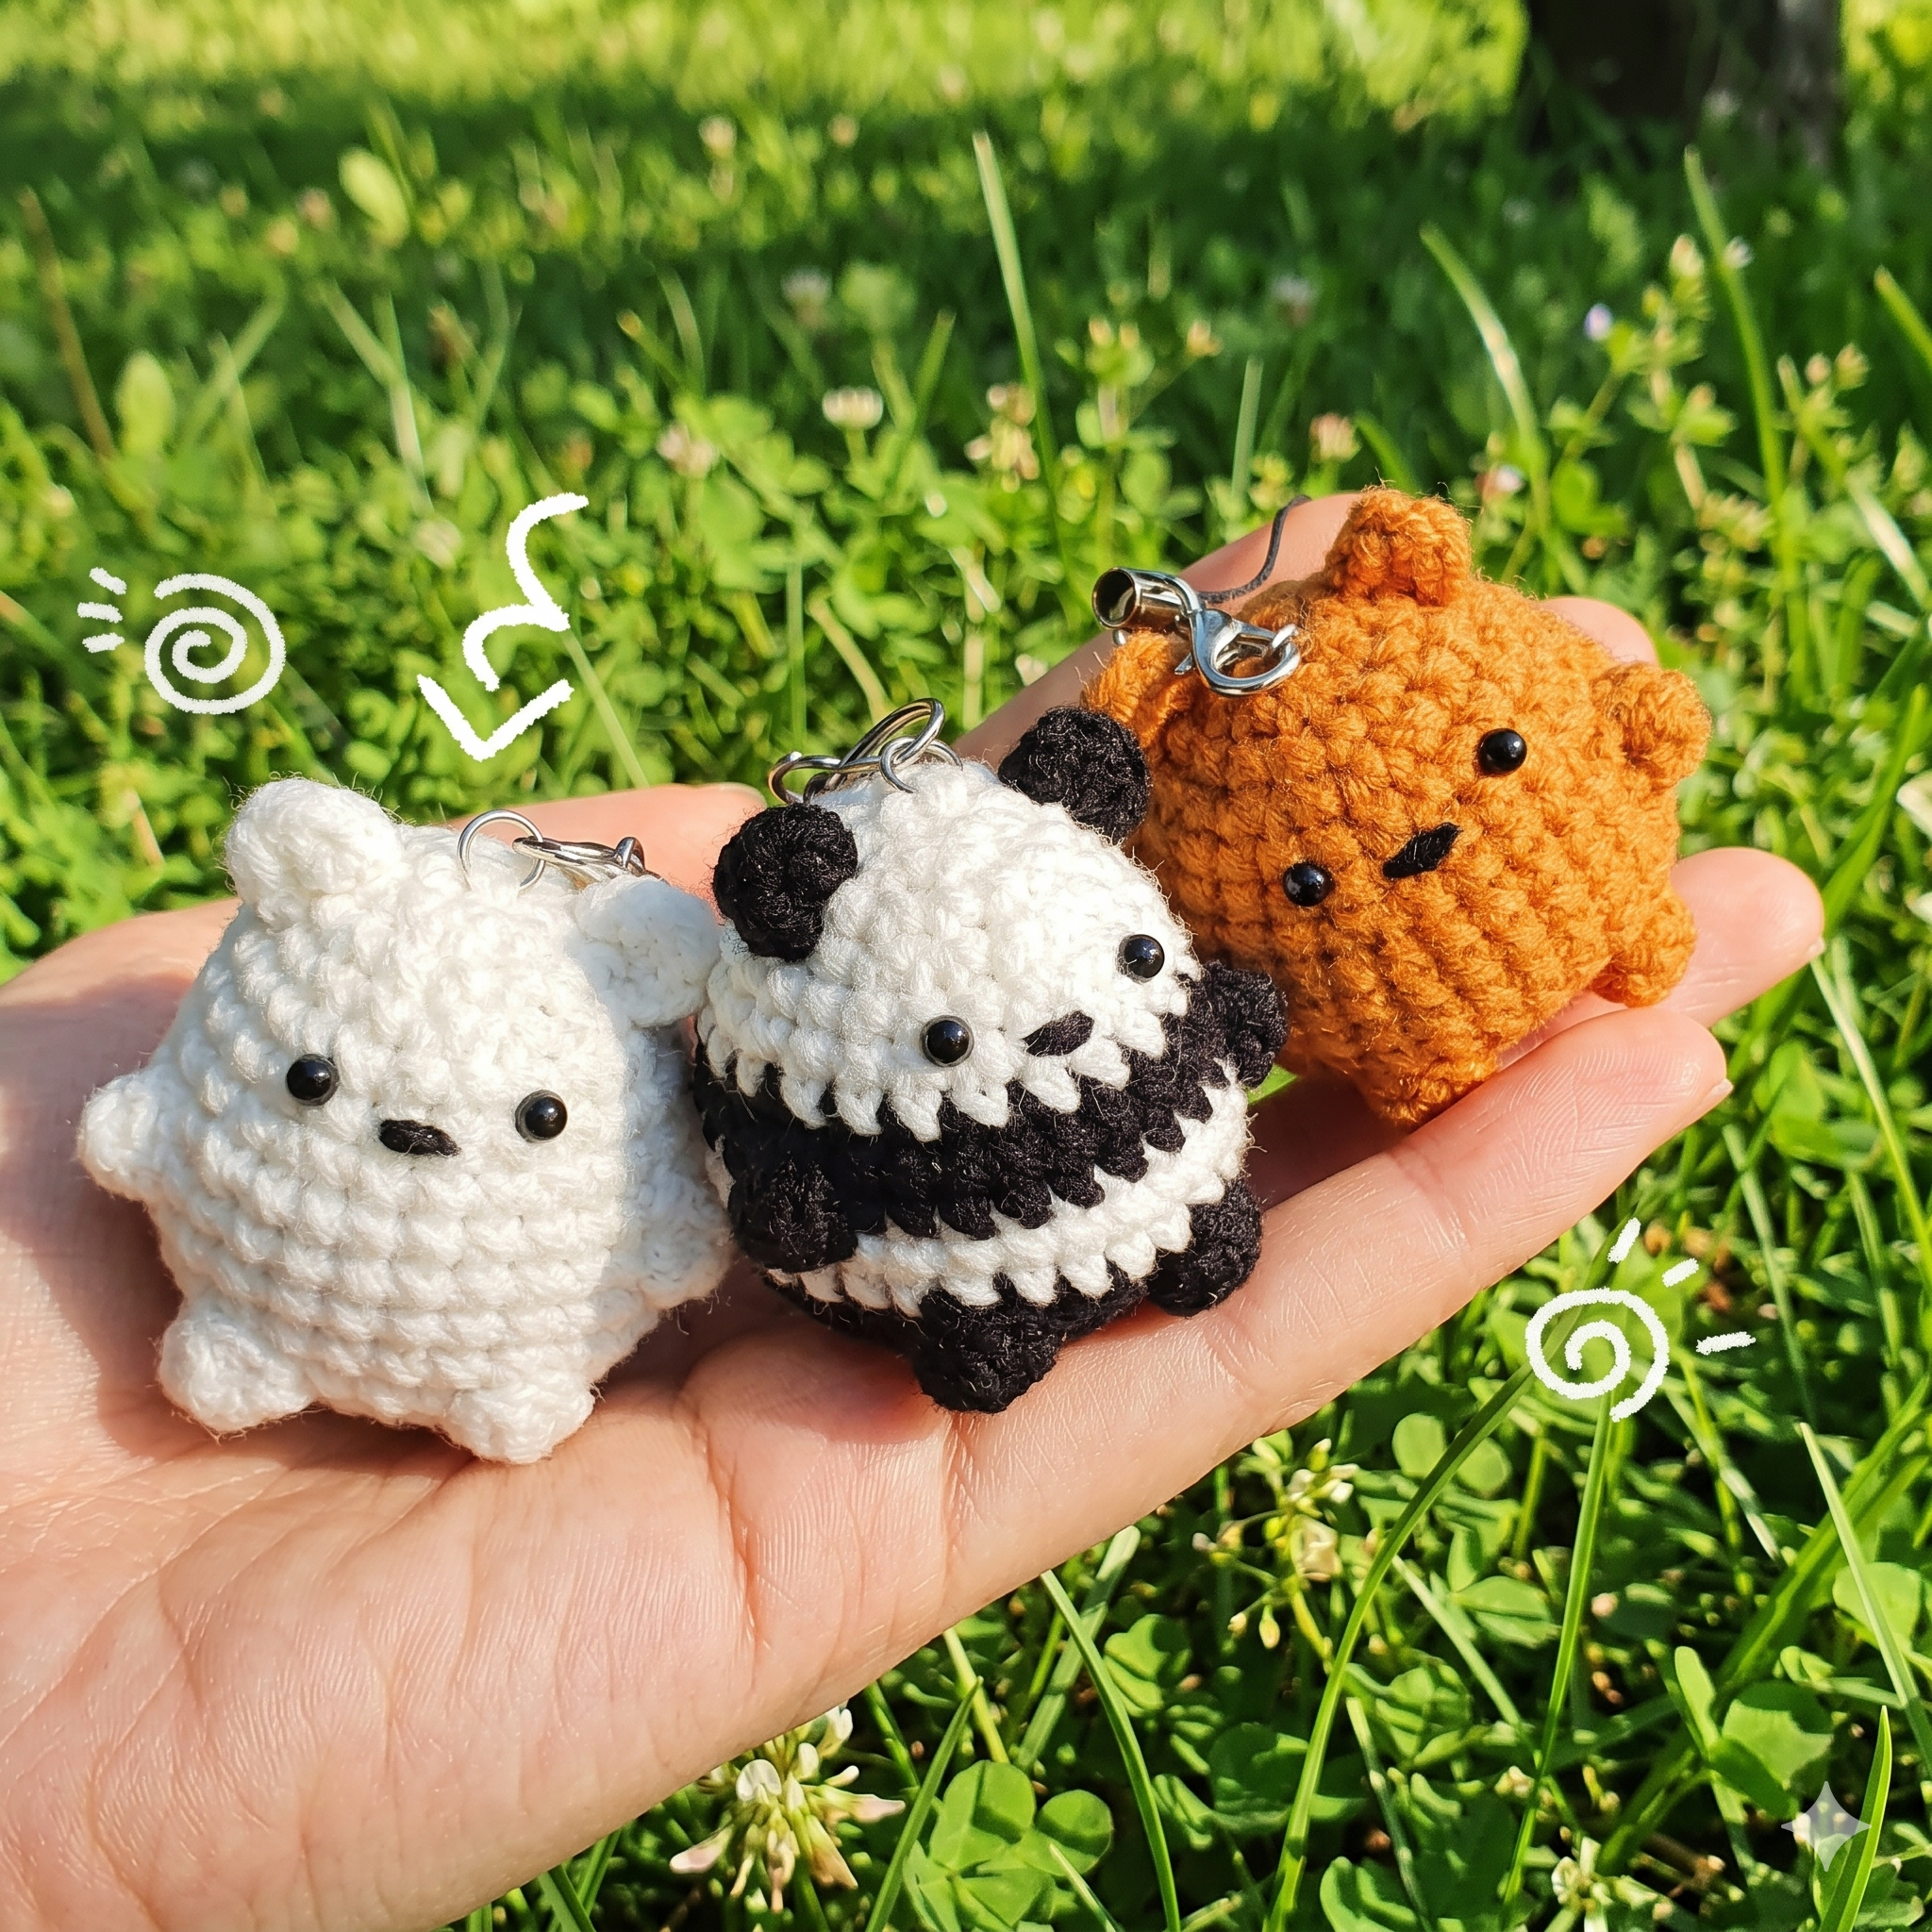
The We Bare Bears design captures the heartwarming essence of modern minimalist characters. These charming stacked bears have become a massive phenomenon in the 2026 crafting community. Crafters globally are completely obsessed with these tiny companions because they require minimal sewing and work up incredibly fast. You can easily crochet an entire army of these adorable bears in a single afternoon making them highly satisfying projects.
What makes this design truly special is its clever low sew construction method. Rather than forcing you to crochet four separate legs and arms this pattern uses the bobble stitch to build the limbs directly into the main body. This brilliant technique saves you hours of tedious sewing and ensures the limbs are perfectly symmetrical every single time. It is a highly efficient way to craft.
You will absolutely love how customizable this project is. By simply swapping your yarn colors you can create the entire iconic trio. You can use white for the polar bear, brown for the grizzly bear and a mix of black and white for the panda bear. They are the ultimate desk buddies for students and office workers alike offering a tiny dose of handmade happiness during long work days.
This is a fantastic market prep project for any small business owner. Because they require very little yarn and can be completed quickly they offer an incredibly high profit margin. You can stack them display them in a pyramid or attach keychain hardware to turn them into functional accessories. They consistently rank as craft fair best sellers year after year.
Grab your hook and let us get started right now. Here are the complete core instructions to create the main body limbs and tiny ears of your bear.
This section provides the exact stitch sequence needed to construct your character. Follow these steps carefully to ensure your foundation is sturdy and your bobble limbs pop out perfectly.
Using the correct supplies is absolutely vital for creating dense and huggable amigurumi items. This section breaks down exactly what yarn fibers and tools will yield a professional looking bear.
To achieve the signature smooth look of these bears you must select the appropriate yarn fiber. We highly recommend using a premium anti pilling acrylic blend or a high quality mercerized cotton yarn. These specific fibers provide excellent stitch definition making your tiny bobble arms look crisp and clean. Furthermore using quality yarn prevents the white polyfill stuffing from showing through your stitches when the toy is stretched.
Before beginning the main project it is highly beneficial to practice the specific intermediate stitches required. Mastering these specific movements ensures your finished project looks completely professional.
The magic of this pattern relies heavily on two specific techniques. The first is the seamless color change. Because these characters have distinct facial colorings and bands you must transition between yarn skeins flawlessly. The second is the bobble stitch which creates the arms and legs seamlessly. To prevent an ugly stepped look when switching from white to black yarn you must change colors at a very specific moment in your stitch. The bobble stitch creates a dense textured bump that serves as the limbs for your bear. It is created by working several partial double crochets into one single hole.
While the free pattern above gives you the core mathematical structure there is immense value in owning the official premium documentation. Upgrading ensures a completely flawless crafting session.
The premium digital PDF download is the ultimate tool for executing this character design perfectly. It removes all guesswork by providing highly detailed placement guides for attaching the ears symmetrically and embroidering the facial features accurately. Furthermore the PDF contains high resolution step by step photographic tutorials. These visual aids are absolutely crucial when mastering the bobble stitch and ensuring your color changes line up flawlessly. Finally the premium pattern offers an ad free layout that is specifically designed to be printer friendly.
Loved making this beautiful bear? Build your digital library with these beautifully designed bestsellers from our extensive collection.
We pride ourselves on offering a wide variety of delightful and easy to follow guides. Expand your crafting skills by trying out these highly rated projects chosen specifically for fans of adorable pop culture characters and functional items.
Even experienced crocheters run into minor issues when constructing compact amigurumi figures. This section addresses common pain points and provides professional studio solutions.
A frequent issue when making this stacked bear design is that the bobble stitch limbs sink inward instead of popping outward. This occurs because the tension pulls the fabric inward naturally. If your arms and legs look inverted simply use the back of your crochet hook to firmly push them out from the inside before you finish stuffing the body cavity. Securing the stitch immediately after the bobble with very tight tension also forces the bump outward. Another common frustration is when the body looks lumpy instead of a smooth cylinder. When it comes to stuffing these characters less is certainly not more. Under stuffed bears will look incredibly wrinkly and fail to sit flat or stack properly on a desk. You must pack the polyester fiberfill firmly into the base and body manipulating it with your fingers to ensure a smooth even shape before closing the final rounds. When attaching the tiny ears do not guess the placement. Use straight sewing pins to secure them symmetrically on the head before you begin sewing with your tapestry needle. Counting the rows down from the top magic ring ensures that your bears look identical and professional especially if you are making sets to sell at a local craft fair.
We have compiled the most common questions crafters ask before starting this exact pop culture project. Read through these detailed answers to ensure you are fully prepared.
2. The Free Pattern: We Bare Bears (US Terms)
WE BARE BEARS
code
Code
download
content_copy
expand_less
EARS:
3. The Ultimate Material & Tool Checklist
4. Master the Core Techniques
Executing a Flawless Color Change
Mastering the Bobble Stitch (BO)
5. Why Upgrade to the Premium PDF Pattern?
6. More Patterns You Will Love
7. Expert Troubleshooting & Maker Pro-Tips
8. Frequently Asked Questions
Please Note: This guide provides the free base pattern for this project. To get the complete, printable instructions with high-resolution photo tutorials, please purchase the premium PDF pattern. All digital pattern sales are final.
While the final result looks highly polished the foundational steps are incredibly accessible. If you can confidently execute a single crochet understand the concept of a magic ring and follow color change logic you can achieve this. We highly recommend advanced beginners tackle this because the bobble stitch requires a bit of practice to get the tension perfectly right.
Yes you certainly can use chunky blanket yarn from your stash to create giant huggable versions of these bears. However be aware that using super bulky yarn will completely alter the finished dimensions of the toy. If you do use fluffy chenille yarn we highly recommend using a six millimeter hook to keep the stitches structural and prevent massive gaps where stuffing might escape.
Because this item is handled frequently it will eventually need washing. We highly advise hand washing the piece in cool clean water with a tiny drop of gentle detergent. Do not wring or twist the bear as this will warp the stuffing permanently. Gently press the water out with a dry thick towel and lay it completely flat in a sunny spot to air dry.
The delivery process is completely instantaneous and automatic. The moment your secure payment clears an automated email containing your unique download link is dispatched directly to your inbox. You can also log into your personal Knotsboo account at any time day or night to access your permanent digital library and securely download the file again whenever you need it.